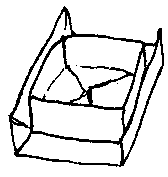
These are very simple and effective instructions for an origami box and lid.
You will need:
Two equal squares of thin card, approximately 20 x 20 cm for a small box, about 7 cm across, or 41 x 41 cm for a larger box, about 14 cm across.
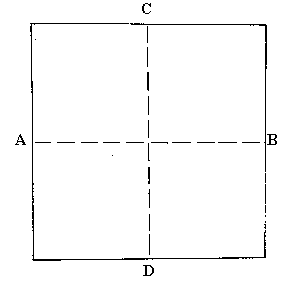
1. Take one of the pieces of card. Fold it in half, joining sides A and B, unfold then fold in half again, this time bringing side C down to D.
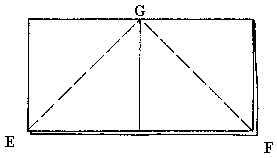
2. Bring corners E and F (upper layer only) up to G. Turn over and repeat on the other side.
3. Unfold crease BB and turn over.
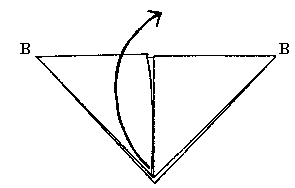
4. Fold the lower and upper edges along the centre; crease very well and unfold.
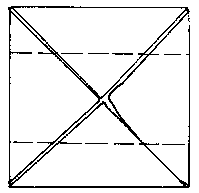
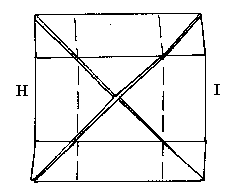
6. Completely fold out the flaps J and K.
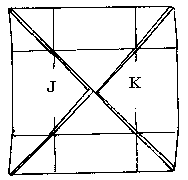
7. Bring the upper and lower edges L and M to the centre, along the already established creases.
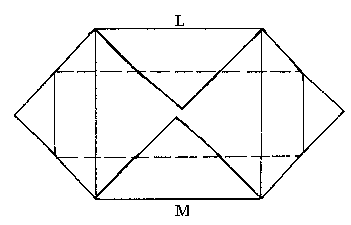
8. Take hold of the two outer flaps, N and O, and bring upwards along the creases PP and QQ. You will find that a box shape automatically forms.
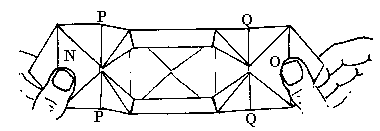
9. Carefully fold the two flaps R and S into the box, along the already established creases.
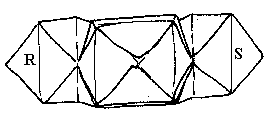
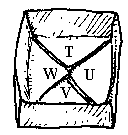
10. The finished box. Make sure that the four triangles T, U, V, and W lie flat on the base of the box.
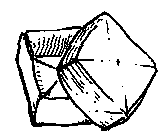
1. To make the lid, take the second piece of card and fold as in steps 1-3 above.
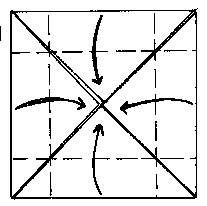
2. Bring the bottom and top edges to within a very short distance of the centre, about 3 mm. Unfold and repeat on the remaining two sides. Unfold (see tip).
3. Follow steps 6 to 9 above, to complete the lid.
To check that the lid is a good fit, rest the box on the lid and make sure that the flaps folded in step 2 of the lid instructions, fit tightly around the box.
