You will need:
25˝ x 25˝ (64 cm x 64 cm) square piece of hessian or sacking cloth
A water-resistant marker pen
A wooden frame – an artist’s stretcher, or embroidery frame
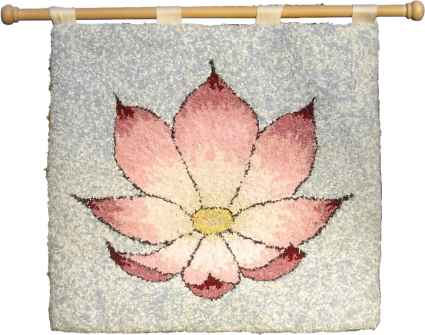
Old pieces of material. For this flower design, you will need black cloth for the outline, various shades of pink for the flower, two yellows for the centre, and a large piece of blue cloth for the background. These colours can be varied according to what material you have.
Scissors
A hook (diagram 1, available from www.rugkit.co.uk)
8 foot (2.5 m) strip of 2˝ (5 cm) wide carpet
braid,
cut into four 2 foot (64 cm) strips Needle and strong thread.
4 pieces of matching ribbon 1½˝ (4 cm) wide 4˝ (10 cm) long
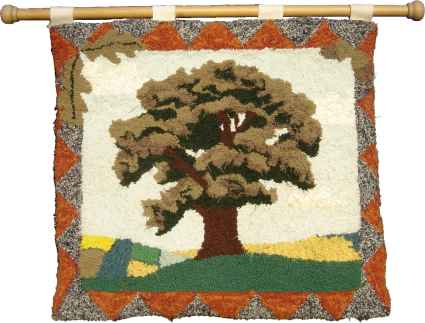
Above: Oak Tree
Top: Pink Lotus
Diagram 1
Method:
-
First of all, work out your design and practise drawing it several times on a piece of paper.
-
Draw a square 4˝ (10 cm) in from the edges of the sacking cloth and then fold the material in quarters, to find the central point. Sketch out your design, on the cloth, using a soft pencil. Make sure that it is centred in the middle of the material. When you are satisfied with your drawing, go over it with the marker pen. (Diagram 2)
Diagram 2
-
Fix the material to the frame with drawing pins or a staple gun, trying to keep the cloth as taught as possible. You can now begin to hook the rag rug.
-
Cut out a strip of black material ¼˝ to ⅜˝ (6 to 10 mm) wide, and at least 6˝ (15 cm) long. Always cut straight along the line of the fabric, never diagonally.
-
Hold the hook in your hand as if you were going to write with it, keeping the angle of the hook upwards, then push it firmly through the hessian from front to back. (Diagram 3)
Make the hole big or your hook will catch on the threads as you bring it back. When you make the next hole, the first one will close up.
Diagram 3
-
Hold the strip of material you are going to use in your left hand and catch it up with the hook. (Diagram 4)
-
Bring the end to the front and leave 1˝ (25 mm) above the fabric.
-
Working from right to left, move about two threads away and push the hook into the fabric.
Diagram 4
-
Catch up the next bit of material and pull it through to the front to make a loop ½˝ (12 mm) tall.
-
Work across the fabric in slight curves until you finish the strip of material. Leave the end as before, 1˝ (25 mm) above the fabric. (Diagram 5)
Diagram 5
-
Turn the frame over and check your loops from the back. If they appear like a flat row of running stitches, then you are doing them correctly. If there are lumps, you are not making the holes big enough for the material to pass through easily.
-
When you start a new strip pull its end through the same hole as the end of the last strip, then proceed as before. However, do not worry if you cannot make the joins in this way, as it is not always possible. The ends can be trimmed as you go along.
-
Proceed in this way, first with the outlines, then with the filling in, until the pattern is complete.
-
Once you have finished, take out the staples or drawing pins and remove the wall hanging from the frame.
Note 2: Always work in the same direction, or you will find that each loop pulls out the previous loop. Do not be tempted to run a strip from one area to another under the fabric, as you will be sure to catch it up later – it is much easier to just snip off the material and start again.
Binding the Rug
-
Cut diagonally across the 4 corners ½˝ (1 cm) away from the weaving.
-
On the front of the rug, stitch the carpet braid to the base fabric on three of the sides, as close to the weaving as possible, (diagram 6). Use backstitch.
Diagram 6
-
As you sew what will be the top edge of your rug, place the pieces of ribbon, folded in half, at intervals along it and stitch them in, leaving the loop sticking out.
-
Turn the rug over and trim away excess braid at the corners.
-
Fold the braid down onto the wrong side and backstitch it to the reverse side of the rug, leaving the corners until last.
-
At the corners trim the braid carefully. Fold the pieces down and stitch them together (diagram 7).The corners should not be bulky.
You have now finished your rug!
Diagram 7